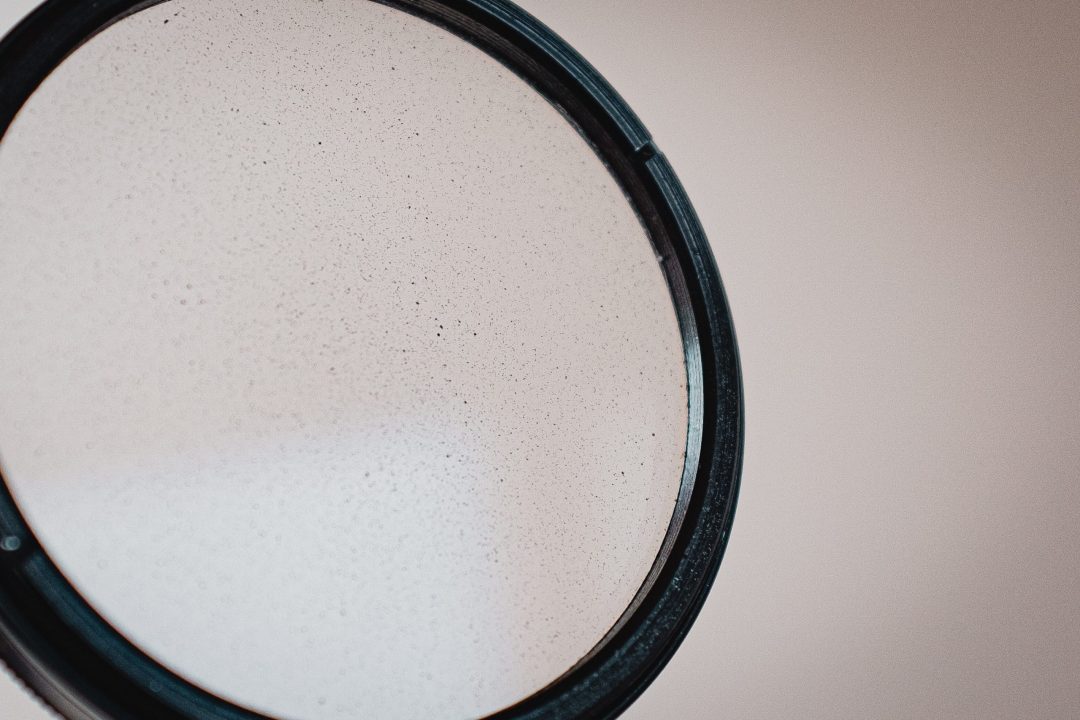
The £10 Pro-Mist (DIY METHOD)

As an avid photographer (or filmmaker) you are probably destined, at some point to gain the innate desire to make your digital work look analog. Whether it is using old vintage lenses that create a softer, more diffused look or you have been shooting in a 4:3 aspect ratio or hell, you are a fuji shooter. You lust after the softer, grainy vibes of yesteryear, but without the (abhorrent) sky-high costs of emulsion film.
I initially began, like most, looking for the online photography prophets’ opinions on filters, and there was an unbridled love for the Tiffen Black Pro-Mist filter, which created a soft diffused look in the highlights called ‘halation’ but also smoothed out the mid-tones in the image, and made the dark tones slightly milky, thus giving the impression of decreasing the contrast.

Now admittedly, this wasn’t the first time I had looked into the Pro-Mist series of filters, in 2019 I was commissioned to shoot a music video that had to exhibit a 1980s era look to suit the synth-wave soundscape that was audibly pushed into our earholes.
Ultimately, we decided on using a Pro-Mist 3 which, due to a lack of knowledge – turned out to be a bloody strong filter, almost like smudging Vaseline across the lens, then smearing it around with a greasy finger – still, for the project it worked somewhat successfully (though with a slight air of disappointment, that I could only sharpen the image so much in post-production, those images are lost to the slippery smudgy gods now!).


Two screenshots from the Minute Taker music video I shot in 2019
https://www.youtube.com/watch?v=i8NnAY7N_tg&ab_channel=MinuteTaker
Anyway, fast forward to the year 2020, I bought a Black Pro-Mist ¼ due to the recommendation of every ‘filmmaking’ YouTuber in existence describing how good the 1/8 was, I thought I would be a rebel. The filter I bought was around £89 brand new, which by the standards of filters is crazy, and by Pro-Mist filter prices, positively ridiculous, and it was the perfect size for me at the time, a 77mm filter thread. Upon picking the filter up, I was initially impressed that my images were still legible, and the holy halation was in full effect, did my images look more film-like? Probably not, but that’s why hipsters use the grain toggle. To my surprise, the filter soon became my new thing, I felt an unholy connection to the filter, like a deal with the filter devil, a Screw-on Satan. I was one…with the mist.


A few examples of my love affair with the Tiffen Pro-Mist 1/4, As you can see it over exaggerates and blurs the highlights creating the halation effect, it is really pleasing and gives a nice dreamy vibe. You can see more of my work here: https://www.instagram.com/shot_in_silence_/
I checked out DIY alternatives and saw that there are two options, but first I need a cheap glass filter – I managed to find a boots UV haze filter for £3. Next, we need to add the Pro-Mist effect by using hairspray, (and I am legally required to state, that I definitely didn’t raid our cupboards to steal some hairspray from my loving girlfriend) I created a small mist of hairspray and ran the filter (screw side up) through the mist to gently give coats of hairspray to the filter. Did it work? Absolutely, though it is a different look to the black Pro-Mist, it gives a nice halation effect to the highlights – it works well and as long as you don’t take the filter off, it could last forever. I decided to cover the filter a little more for that extra creamy-ness, but I ruined it, it now looks like that Pro-Mist 3, so let’s move swiftly on to option 2.


Some examples of the Hairspray promist in action – I think they turned out great with the correct level of mist – then I ruined it by adding more spray!

Slightly overcooked on the hairspray leaving a very misty creamy look – vintage vibes, not quite what i was after though!
I went to my local hardware shop or as you might know it as Amazon.co.uk, and bought some black spray paint, This time attempting to make a more real–fake Pro-Mist. With a few sprays from a distance around 2 feet away from the filter, I gently coated the front of the filter. I used short bursts and checked after each spray to see if it was adequately covered, it might be recommended at this point to maybe put some parcel tape over the surroundings of the filter as mine has become slightly sticky and stiff to screw on…Live and learn.


The results, a slightly gentler look that you could most definitely pass off as a real Pro-Mist. So, with that being said – was it worth the effort to achieve this look – and I think you can tell by the pictures attached that this is one of the most fun and creative uses of black spray paint ever – don’t @ me graffiti artists, I may not be Banksy but I’m basically Tiffen now.

Initial impressions with the £10 spray paint ProMist were extremely good – I needed to take it out, even if it was late at night!
So, moving forward will I be doing this for various sizes of filter, well probably not – the black spray paint method is great, but not consistent and works well if you only need to make one filter, but if you are matching cameras or have various size filter threads it could cause a little bit of a headache in post-production. I think that this is a fantastic experiment and totally worth your time if you are thinking that you would like a bigger bulge in your wallet, let me know if you try this out, and comment below!

-Socials:
Instagram: https://www.instagram.com/shot_in_silence_/
Facebook: https://www.facebook.com/iamconnorcleary/
Where to buy the kit featured in this article:
All opinions expressed in this article are mine, and mine alone. I don’t get paid to write anything on this website, so if you would like to support me, please consider using one of the links below to help me out.
When you click on a link it will take you to the Amazon page where you can choose to buy anything on the site and I get a small commission – it doesn’t cost you a penny, but helps me out massively!
FUJIFILM X100V (my model is X100t, which is no longer being made) – LINK
FUJIFILM X100F (Slightly cheaper model, still a fantastic camera!) – LINK
UV FILTER (I love using this brand, though for my project i used an old Boots one!) – LINK
FUJIFILM X100 FILTER EXTENSION (you need this accessory to fit the UV filter!) – LINK
HAIRSPRAY (If you want to give this method a go!) – LINK
SPRAY PAINT (I would recommend using matte black for this project!) – LINK


